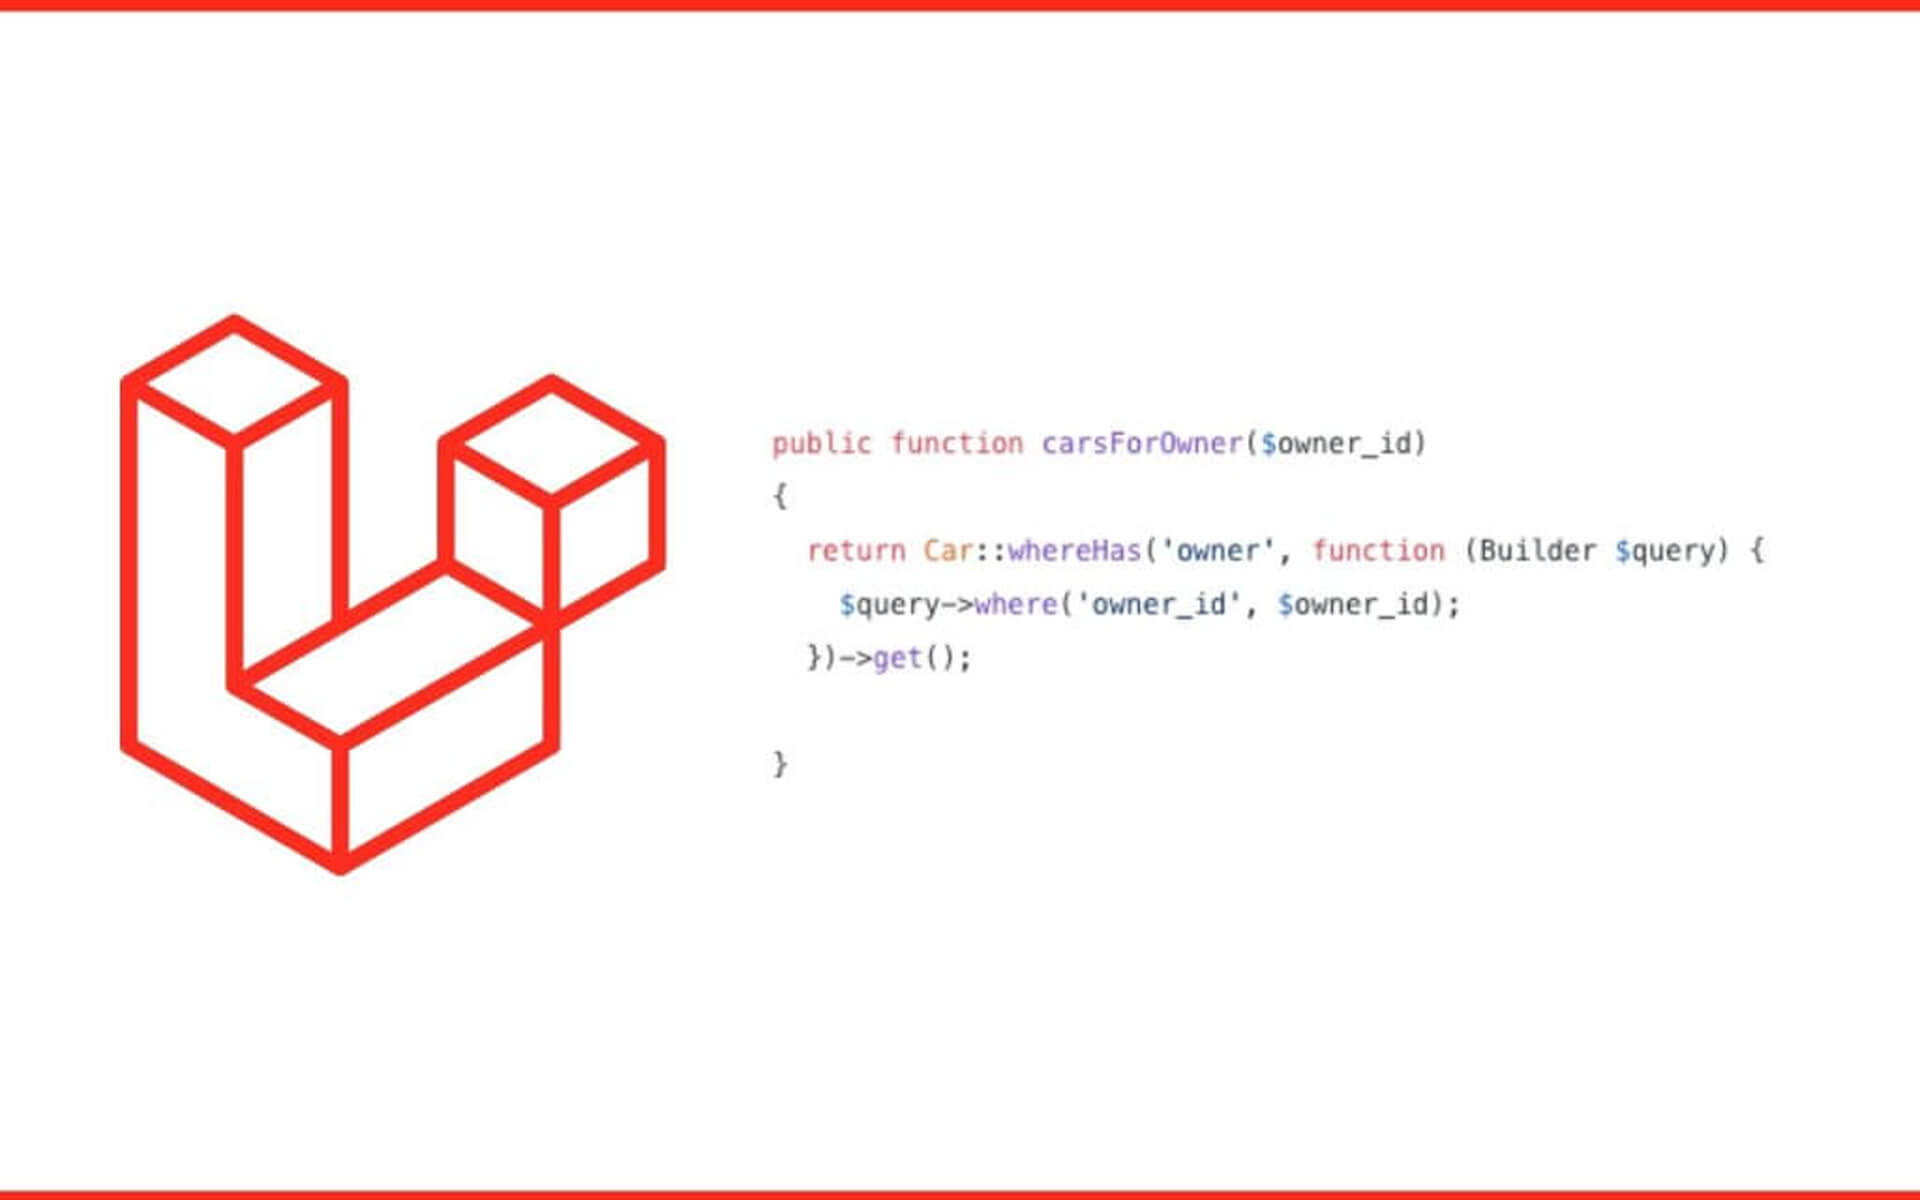
Laravel Eloquent: Advanced Queries On Relationships Using whereHas
September 28, 2020
Debugging Best Practices
October 26, 2020
Bitbucket pipelines are a great option for setting up automated testing and deployment of the code you have in bitbucket. Pipelines are described by a yml file that you save in your repo along with your other code. In this post I will walk you through a pipeline used for checking composer dependencies in a php repo. This is very similar to the template yml file you can select from the templates in bitbucket. To start with a template, go to your repo in bitbucket and select pipelines from the menu. The pipelines screen will direct you to start with a template in the language of your choice.
The first thing to know about pipelines is that every step uses it's own new docker container. In the pipelines file above, the actual container used is specified by image: php:7.3. The actual pipelines are specified under the pipelines tag as steps. The default tag specifies the pipeline that will run when another pipeline is not matched by the branch or pull request.
A pipeline consists of number of steps each that use a new container. For the pipeline specified above there is only one step. This step checks that the composer dependencies install correctly. It does that with the commands in the script. These commands are run in order just like a shell script.
The caches tag specifies that composer should be cached so that it doesn't have to download it every time the step is run.
There you have it, an explanation of a simple pipeline file that runs on every push to get started with bitbucket pipelines


