How To Use CKEditor 5 In Angular With Server Side Rendering Support
September 28, 2019
Provisioning A New Digital Ocean Server With Laravel Forge, And Deploying Code With Laravel Envoyer
October 30, 2019
In this post I will show with many screenshots the steps to making an API App with Azure. Although I’ve tested it with a node js API, the process should be identical for other frameworks. The big advantage of using this approach is that Azure manages the maintenance of any VMs created to deploy the app.
1. Search for API app in the search bar and select API app from the marketplace.

2. Type the app name in the first text box which autofills the resource group and application insights. You may want to select an existing resource group.
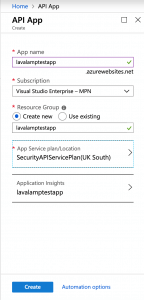
3. Unless you would like to go with the default, select app service plan, and click create new.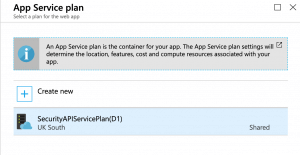
4. Type in a name for your app service plan and click pricing tier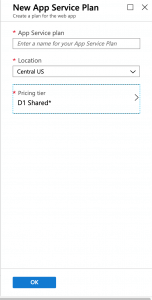
5. Select the pricing tier with the specifications you need, in my case I selected D1 because I’m still testing my application and I don’t want to spend too many credits. Click Apply then OK for the service plan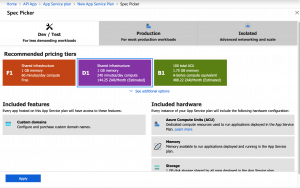
6. Click create to create the API app. Azure will take a bit of time setting everything up. If you go to the resource group you chose earlier you will see the app which is of type App Service, the Application Insights and the App Service Plan.
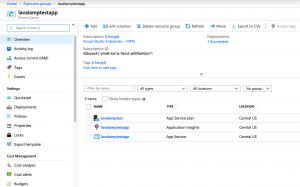
7. Select the app service and click deployment center
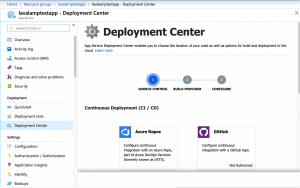
8. Select the place where your code is hosted and provide authorization to azure. In my case it’s bitbucket
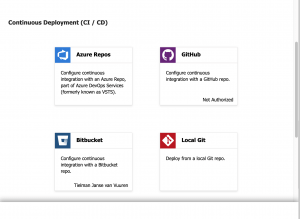
9. Select the details and branch of your code repository
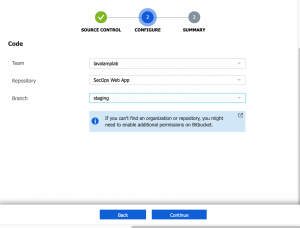
10. Click Continue
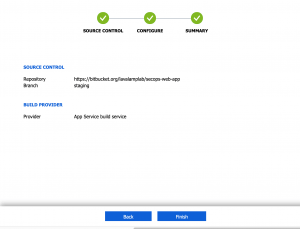
11. And click Finish, now the code is being deployed.
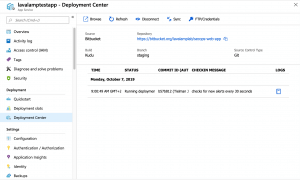
You can select the blue logbook on the right and select Show Logs… to see what the deployment is up to, and see any errors.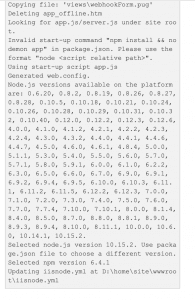
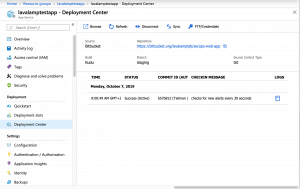
When the deployment is complete you will see a Success status message:
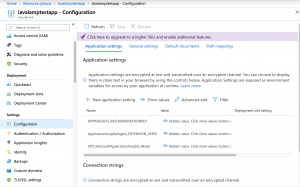
Remember to set any environment variables you need in the Configuration section under Settings:
There you have it, deploying a backend is quite simple with Azure API Apps.


